

How to deploy laravel project on cPanel 2021
In this tutorial, we will discuss how to deploy laravel project on cPanel. You will be guided step by step. In this, you will learn how to upload the whole laravel project from your computer to shared hosting cPanel.
If you have shared hosting you can deploy your laravel project on shared hosting easily. if you don’t have shared hosting you can buy the best cheap hosting with a 40% discount.
What is Shared Hosting?
Shared hosting is the type of hosting space in which you get hosting space on a shared server. That server shares the resources of the server like the memory of Ram, Hard disk Memory etc.
At the initial time, you can go for shared hosting in which you can save a lot of money. Which is a good choice in the initial days. But you have to be careful about the hosting company.
You can choose Zaywebhost as your first choice. Because zaywebhost have very good and optimized servers. Now we discuss deploy laravel project on cPanel
Steps to deploy laravel project on cpanel
- Compress the whole laravel project folder
- Open shared hosting cpanel
- Open file Manager
- Upload the whole compress project
- Extract the laravel Folder
- Export database from local phpmyadmin
- Open Phpmyadmin and import database
- Update database credentials
You can download the laravel framework from laravel.com and also installation documentations.
Step 1 : Compress the whole laravel project folder
Compress the whole laravel project folder from your local machine and create a zip file.
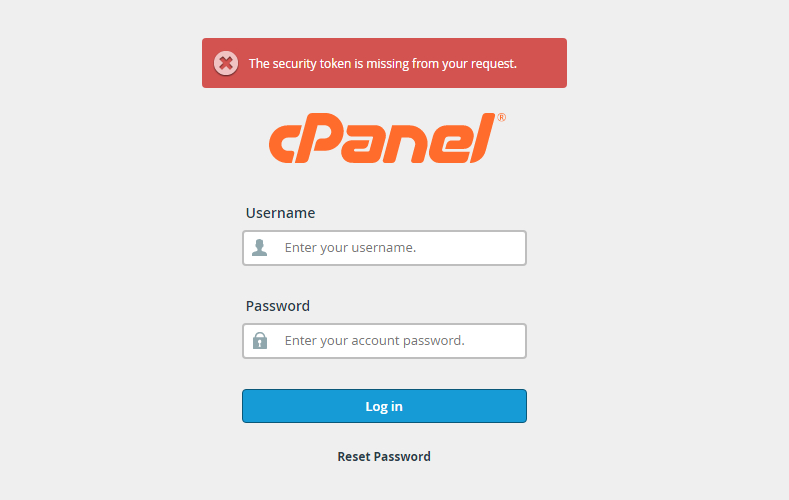
Step 2 : Open Shared Hosting with cPanel
If you have shared hosting open cPanel with login password. You have to open cPanel with yourdomain.com/cpanel.
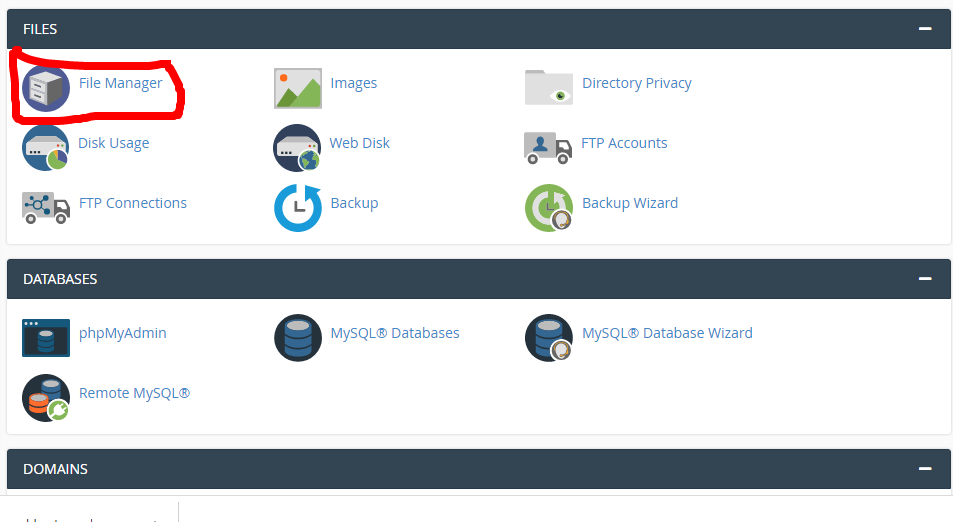
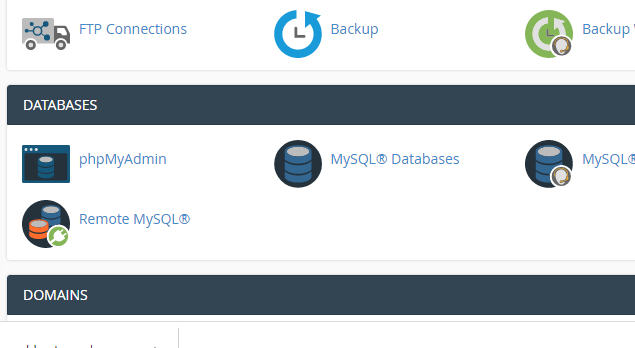
Step 3 : Open File Manager
You have to open the file manager from the cPanel dashboard. You can find the file manager in the second section mostly. open it in your browser and open the folder where you want to upload the laravel project.
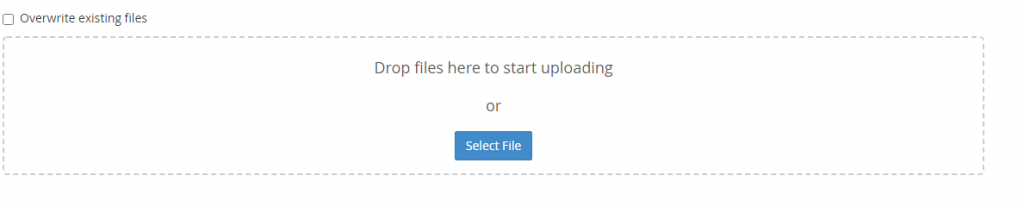
Step 4 : Upload the whole Compress Project
You have to upload a compressed project file on your shared hosting file manager. You have to open public_html folder from your folders.
Choose the upload file icon and upload the project compress file in your public_html folder.

Choose a compressed file from your local machine and upload on your hosting.
Step 5 : Extract the laravel folder
Now you extract the laravel folder from the compressed file. Your whole folder will be available after extraction.

Step 6 : Export database from you local phpmyadmin
Now you have to export your database from PHPMyAdmin of your machine. Select all your tables and export in gzip compressed formate.
Step 7 : Open PHPMyAdmin and import database
First of all, you have to create a database in your cPanel. And then you have to create a user for your database. After that, you have to connect your database and User with each other give full privileges.
Now you have to open PHPMyAdmin and import the database file from your local machine. Now you have imported all tables from your local database to your hosting database.
Step 8 : Update Database Credentials
Now all the files of your project are available in your hosting and also you have imported the whole database from your computer to your hosting database in your PHPMyAdmin.
Now the final step is you have to open the index.php file and edited your editor or you can edit this file from your file manager. You can replace the following code in your index.php file.
require __DIR__.'/../bootstrap/autoload.php';
$app = require_once __DIR__.'/../bootstrap/app.php';
to:
require __DIR__.'/bootstrap/autoload.php';
$app = require_once __DIR__.'/bootstrap/app.php';
Next, go to your project root directory and open the .env file and update the database credentials as set earlier at the time of creating database and database user.
DB_CONNECTION=mysql
DB_HOST=127.0.0.1
DB_PORT=3306
DB_DATABASE=here your database name here
DB_USERNAME=here database username here
DB_PASSWORD=here database password here
Now you have successfully deploy laravel project on cPanel.
Conclusion :
You learned in this how-to deploy laravel project on cPanel from scratch. Now you can easily upload your projects from a local machine to cPanel hosting, If you have any questions regarding this tutorial you can ask in the comment box below.