
How to Duplicate a Page in WordPress
In WordPress duplicating the page is not available by default. But we will learn how to duplicate a page in WordPress in different steps.
Fortunately, we have only a few ways in which we can duplicate the pages of WordPress. But Unfortunately, WordPress does not give this feature by default.
Before we are going to tell you how to duplicate a page in WordPress you should know that what is difference between duplicating the page and duplicating the content.
Difference between duplicating the page and Duplicating the content
There are two types of concepts in WordPress. This Means Duplicate the page or duplicating the content. Let’s discuss both concepts with pros and cons.
Duplicating the Page:
This is only duplicating the page, not for content you have to change the content after duplicating the page. Mean you have to use the same layout for different pages. This will save time.
In this way, you will save time and energy. You can duplicate the layout or structure of the page and change the whole content. This practice is not harmful to SEO.
Duplicating the Content:
This type of practice is very harmful to SEO. If you duplicate the pages with whole content google will understand that this website is producing duplicate content.
Google can penalize the whole site for duplicate content or Thin content. This type of practice s not good for website. You should avoid it.
Now let’s discuss our main topic types of duplicating the pages.
How to Duplicate a page in WordPress
Following are the 4 methods of duplicating the page
- Copy and Paste your article or page manualy
- Using block editor to copy your article
- Install the plugin to duplicate the page
- Add function into functions.php file to duplicate the pages
1. Copy and Paste your article or page Manualy(But this is not Ideal)
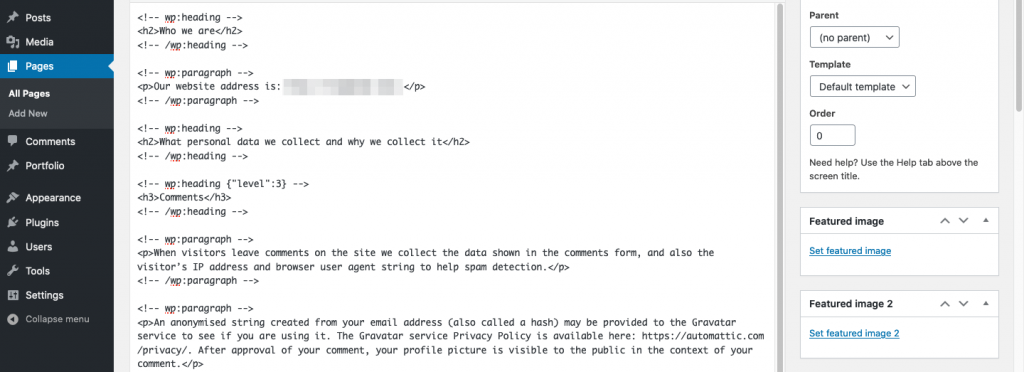
In this method, you have to select the whole text of the article and copy it and paste it into the draft.
However, while manually copying and pasting is simple to understand and execute, there are a few drawbacks. This approach won’t correctly copy over images, categories and tags, meta descriptions, permalinks, or any under-the-hood elements of your site such as custom HTML.
- In this method access your site into any browser.
- Select the text or highlight the text and copy it
- Then paste it into new draft.
In this method, you have to reapply different tags again and reapply to headings because these can be disturbed while coping with the article.
Disclaimer: In this method, you won’t copy internal things which belong to a specific page and also pictures of the page.
2. Block Editor Functionality
You can use this method, This method is way better than the first method. You can use code editor functionality to duplicate the page.
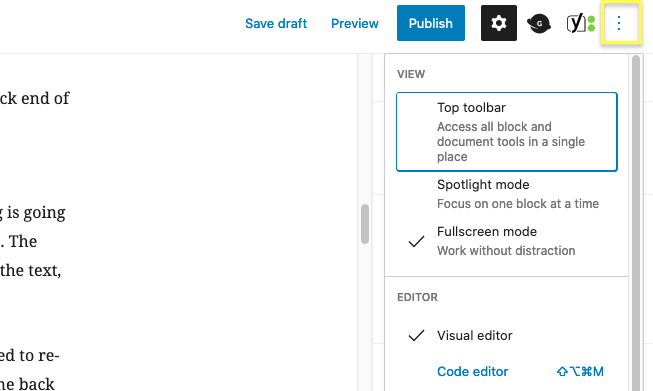
You have to Enable the top Toolbar. Then all content will be in one box. After that, you have to copy the whole content and paste it into a new page draft.
3. Use a wordpress Plugin to duplicate the Page
In WordPress, You can change or modify everything using a plugin. You can find any type of plugin for any kind of functionality. For this we many plugins to do the same task.
But we will suggest only two of the first Duplicate Page or Post and the second one is Yoast Duplicate Post.
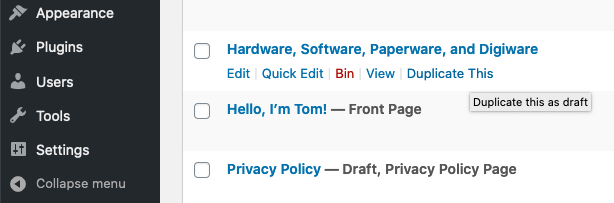
After installing and activating the plugin you have to move to the All pages page and you will see the option after every page “Duplicate this”. Just click on it and your page is duplicated as a draft.
4. Add function to function.php of theme file
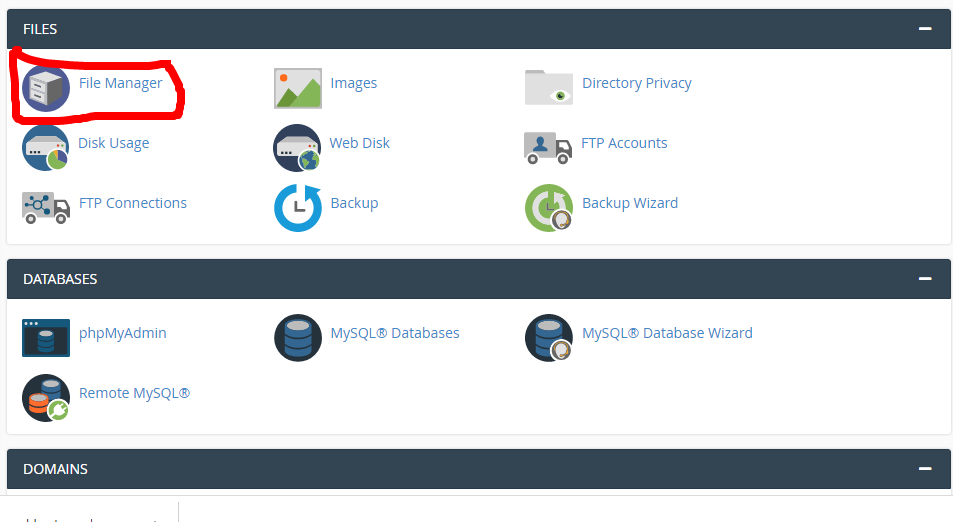
In this method, you have to add some code to your theme’s function.php file. You can access it on the following path and open the functions.php file in any editor to edit it.

You can also download it and edit it from your favourite text editor and add the following code to your functions.php file. Make sure you should take a backup before editing the file.
/* Duplicate posts and pages function. Duplicates appear as drafts, and the user is redirected to the Edit screen. */
function rd_duplicate_post_as_draft(){
global $wpdb;
if (! ( isset( $_GET['post']) || isset( $_POST['post']) || ( isset($_REQUEST['action']) && 'rd_duplicate_post_as_draft' == $_REQUEST['action'] ) ) ) {
wp_die('No post to duplicate has been supplied!');
}
/* Nonce verification */
if ( !isset( $_GET['duplicate_nonce'] ) || !wp_verify_nonce( $_GET['duplicate_nonce'], basename( __FILE__ ) ) )
return;
/* This gets the original post or page ID */
$post_id = (isset($_GET['post']) ? absint( $_GET['post'] ) : absint( $_POST['post'] ) );
/* …then grabs the original post data. */
$post = get_post( $post_id );
/* To select another user as the post author, use $new_post_author = $post->post_author;. Otherwise… */
$current_user = wp_get_current_user();
$new_post_author = $current_user->ID;
/* If the post data exists, create the duplicate */
if (isset( $post ) && $post != null) {
/* Create a new post data array */
$args = array(
'comment_status' => $post->comment_status,
'ping_status' => $post->ping_status,
'post_author' => $new_post_author,
'post_content' => $post->post_content,
'post_excerpt' => $post->post_excerpt,
'post_name' => $post->post_name,
'post_parent' => $post->post_parent,
'post_password' => $post->post_password,
'post_status' => 'draft',
'post_title' => $post->post_title,
'post_type' => $post->post_type,
'to_ping' => $post->to_ping,
'menu_order' => $post->menu_order
);
/* Insert the post using wp_insert_post() */
$new_post_id = wp_insert_post( $args );
/* Get all current post terms, then set them against the new draft. */
$taxonomies = get_object_taxonomies($post->post_type); // returns array of taxonomy names for post type, ex array("category", "post_tag");
foreach ($taxonomies as $taxonomy) {
$post_terms = wp_get_object_terms($post_id, $taxonomy, array('fields' => 'slugs'));
wp_set_object_terms($new_post_id, $post_terms, $taxonomy, false);
}
/* Duplicate all of the post metadata */
$post_meta_infos = $wpdb->get_results("SELECT meta_key, meta_value FROM $wpdb->postmeta WHERE post_id=$post_id");
if (count($post_meta_infos)!=0) {
$sql_query = "INSERT INTO $wpdb->postmeta (post_id, meta_key, meta_value) ";
foreach ($post_meta_infos as $meta_info) {
$meta_key = $meta_info->meta_key;
if( $meta_key == '_wp_old_slug' ) continue;
$meta_value = addslashes($meta_info->meta_value);
$sql_query_sel[]= "SELECT $new_post_id, '$meta_key', '$meta_value'";
}
$sql_query.= implode(" UNION ALL ", $sql_query_sel);
$wpdb->query($sql_query);
}
/* Redirect to the Edit post screen for the new draft */
wp_redirect( admin_url( 'post.php?action=edit&post=' . $new_post_id ) );
exit;
} else {
wp_die('Post creation failed, could not find original post: ' . $post_id);
}
}
add_action( 'admin_action_rd_duplicate_post_as_draft', 'rd_duplicate_post_as_draft' );
/* Add the duplicate link to the action list for post_row_actions */
function rd_duplicate_post_link( $actions, $post ) {
if (current_user_can('edit_posts')) {
$actions['duplicate'] = '<a href="' . wp_nonce_url('admin.php?action=rd_duplicate_post_as_draft&post=' . $post->ID, basename(__FILE__), 'duplicate_nonce' ) . '" title="Duplicate this item" rel="permalink">Duplicate</a>';
}
return $actions;
}
add_filter('post_row_actions', 'rd_duplicate_post_link', 10, 2 );
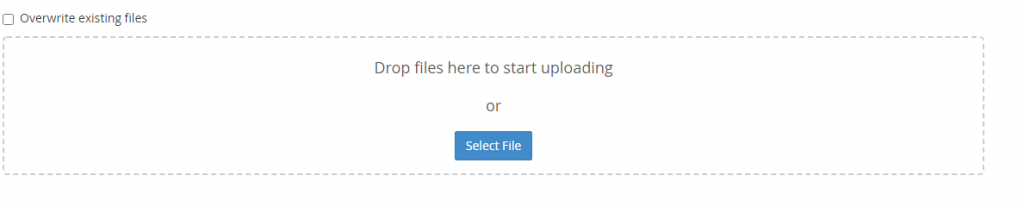
add_filter('page_row_actions', 'rd_duplicate_post_link', 10, 2);Now you have to re-upload the file to your hosting account.
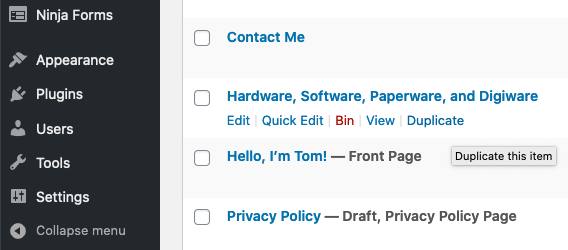
Now you can see the duplicate it in the all pages page. You can click it and it will save it in draft.
In this whole tutorial, you have learned how to duplicate a page in WordPress. You also learn how to install WordPress 0n cPanel.
If you don’t have lightning-fast web hosting at a cheap price with huge tools. You can check out Best Cheap WordPress Hosting.